
Anyone that knows me personally knows that bread is my 'thing'. I've been making it since my first child was born. It all began with a 2nd hand breadmaker, but when that died I made it all by hand. These days I have a kitchenaid that I bought for the purpose of bread making and it does a fine job.
But if you're here is probably because you have a Thermie, not a kitchenaid.
But if you're here is probably because you have a Thermie, not a kitchenaid.
I love love love it when I find out someone has ventured into making their own bread. I feel immensely proud and thrilled for them. Its easy, its yummy & its bloody cheap.
So I am going to share with you my basic bread recipe that I have thermied, but if you happen to not own one yet, message me and we will chat. I am always happy to convert someone to the bread making side!
OK let's get to it.
* Its from this recipe that the majority of my breads are based on*
* Its from this recipe that the majority of my breads are based on*
Like some of my other recipes this one can be flexible, but only parts of it. It is important to always have the correct weight in water and flour. This guarantees you more consistent loaf. All the other stuff just changes the flavour, except the yeast but you can go either way a bit with no dramatic changes.
Begin by weighing 420gms of warm water into your bowl, add 10 gms of sugar, 10 gms of yeast and 20 gms of butter. Whiz for 1 min on 37 deg, sp 1.

Next weigh in 750 gms of bakers flour and 10 gm of regular salt. Wizz it on sp 6 for a quick 7 sec or until the noise changes and the dough is coming together. Now on interval, sp1 let it knead for 5 minutes.
While that's happening fill your thermoserver with hot tap water and let it sit and warm up.
I wouldn't recommend leaving thermie alone while the dough was kneading, it can jump about a bit. And although mine has never come close to walking off the bench, you just don't want to risk a $2000 gadget hitting the floor!
Just before time is up tip the water out of the thermoserver and give it a dry and a spray of oil including the lid. When the 5 minutes is up, tip the dough out onto the bench. It should come out fairly cleanly. Shape it into a ball and press it lightly into the thermoserver, put the lid on and pop it somewhere that's not to cold. I usually put mine on the stove, it helps me not forget about it!

After 30 minutes or so it should have risen to fill the whole thermoserver, if it's quicker then that's fine, if it's longer that's fine too!

Tip it out and give it a quick knead to get out all the air that built up inside the dough.
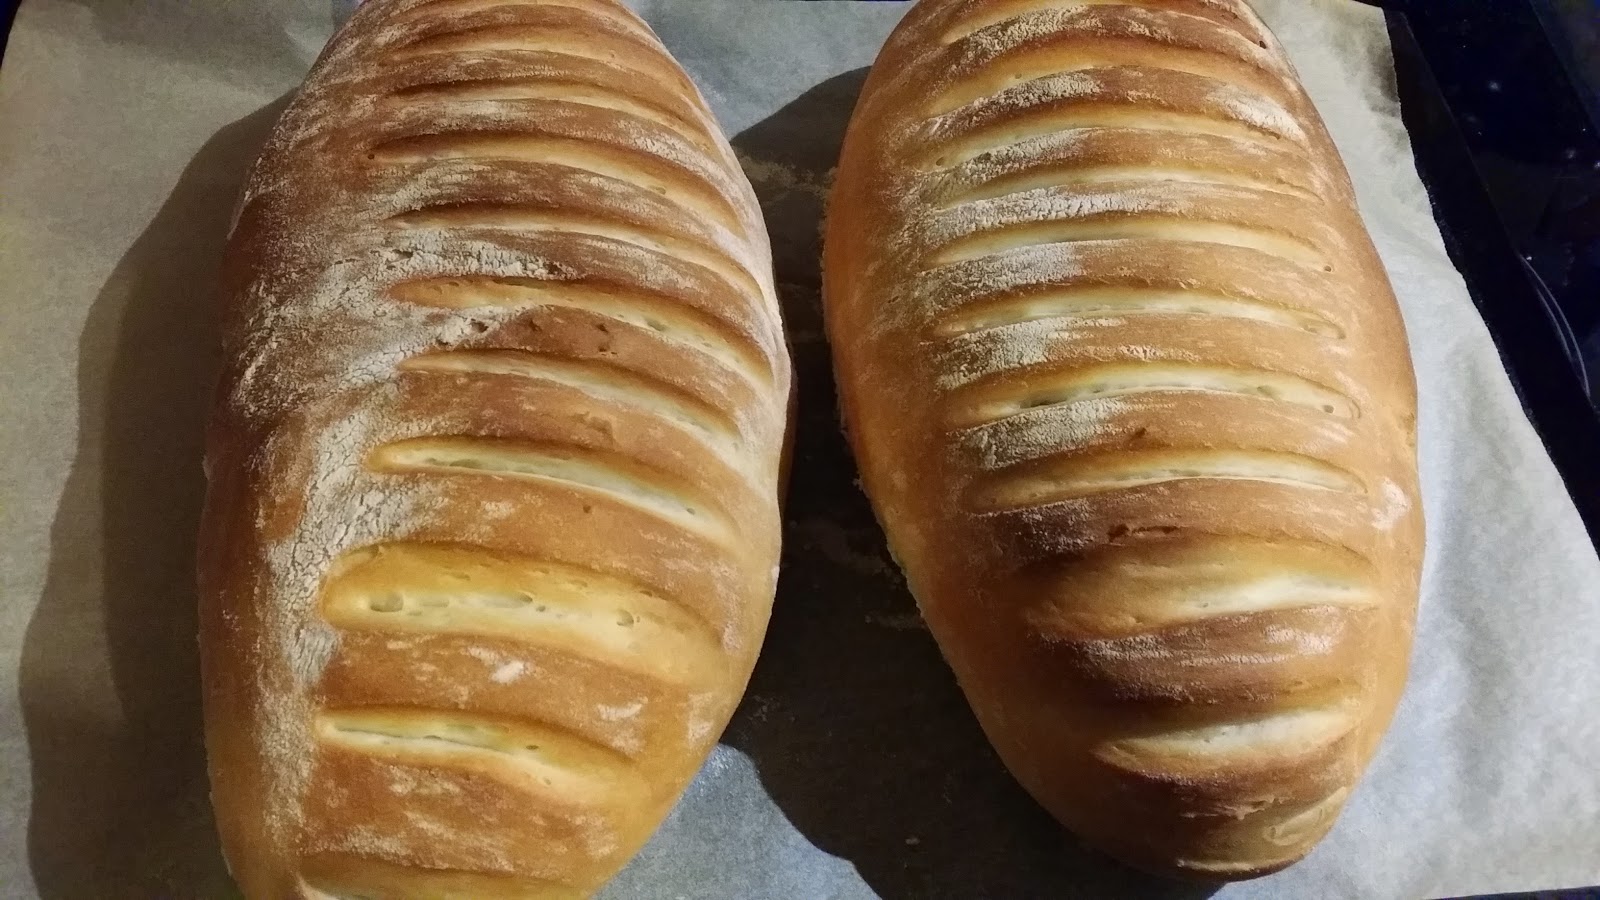
Split the dough into 2 and begin to shape into loaves. A good way to get a good high loaf is to roll the dough out flat then roll it up into a sausage shape. After a few goes you'll find what works. But no matter what, it will taste good in the end!
Put onto a tray lined with baking paper, spray the loaves with cooking spray and cover with glad wrap.

Let the bread sit somewhere warm to rise to about double is size.
Now there's some debate as to whether you should put bread into a hot or cold oven. I like hot. So I put mine into a 220 deg preheated (obviously take the gladwrap off first!) oven and cook for 20 min or so, nice and brown is great and it should sound hollow when you tap it on the bottom.
Now there's some debate as to whether you should put bread into a hot or cold oven. I like hot. So I put mine into a 220 deg preheated (obviously take the gladwrap off first!) oven and cook for 20 min or so, nice and brown is great and it should sound hollow when you tap it on the bottom.
There's a 1000 teeny tweeks and problem solvers that I have in my head, but it would be overwhelming for you and me to write them all in this space. But do ask for help if you need it!
Soooo with a few ingredients you can make one of life's simple pleasures, hot fresh bread. (don't be tempted to cut the bread when it's really hot, it won't end up nice! Wait until it's just warm.. You can do it ;) )


